Firstly if you haven’t setup an Android Emulator yet, refer to my previous guide – Android Emulator on Macbook Pro M1 (Apple Silicon)
We’ll be using Proxyman.app to intercept the traffic from the Android Emulator.
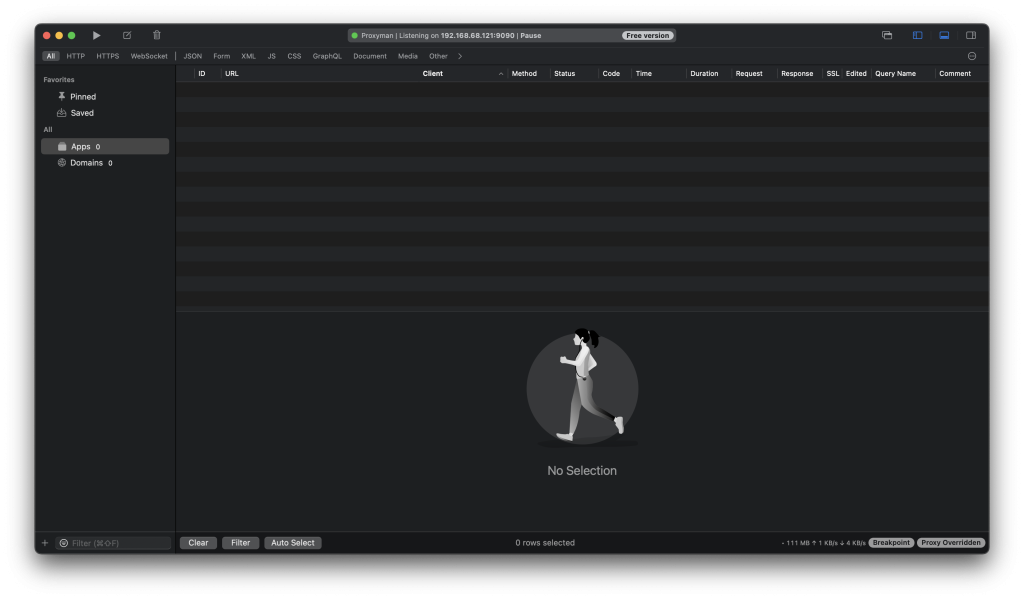
You can use the pause button top left to stop the traffic, until you’ve got it set up, go to Certificate->Install Certificate on Android->Emulators…
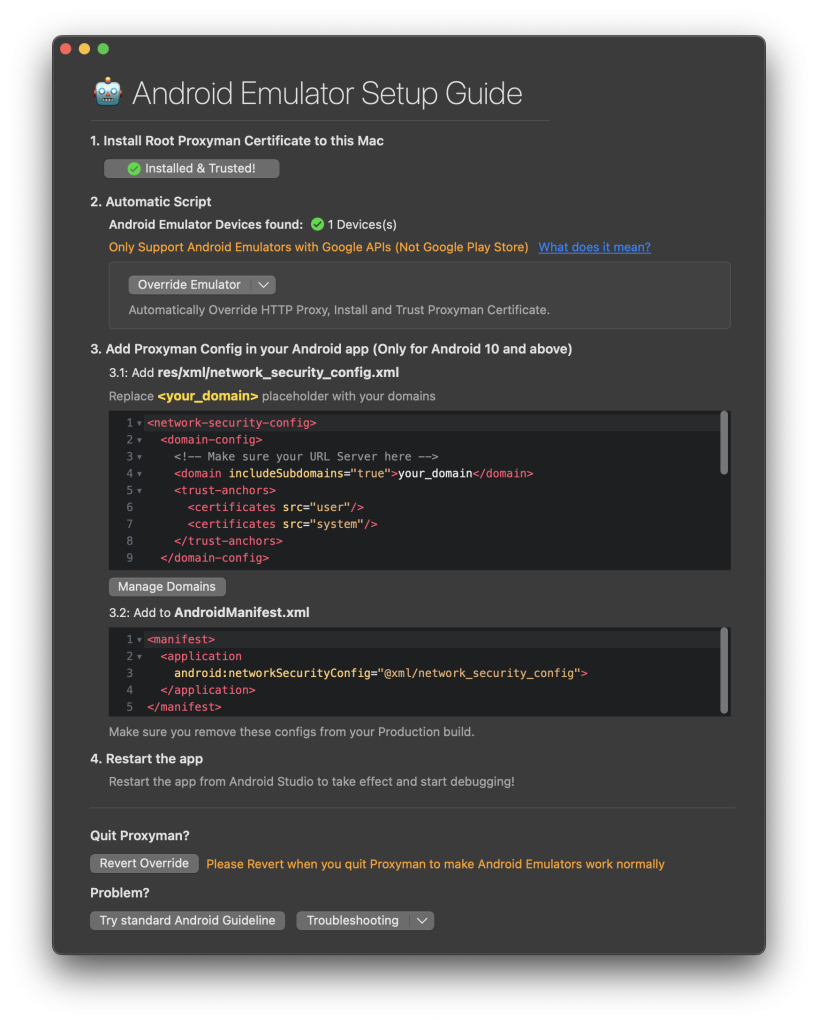
Install the Root Proxyman Certificate, I had done this previously, it should help and guide you to do that, not difficult.
Also if it cannot find Android Emulator device, make sure you have started it up first.
Then click the Override emulator button, this will run a script to install it but you need adb installed.
If you haven’t got adb installed, you need to install it with homebrew, check with brew if it’s installed.
/bin/bash -c "$(curl -fsSL https://raw.githubusercontent.com/Homebrew/install/HEAD/install.sh)"Then run to install adb:
brew install android-platform-toolsOnce you have done the override, you need to add/edit some files in the App .apk
To do this, download the .apk to your Mac (If you need the original apk from the Google Play Store use APKCombo for Firefox addon), then install apktool (Need java installed, check with “java -version” in Terminal)
brew install apktool Now run this to unpack the apk:
apktool d application.apk -fNow you need to create a file into the folder you just extracted “YOUR_APP/res/xml/network_security_config.xml” with the following content:
<?xml version="1.0" encoding="utf-8"?>
<network-security-config>
    <base-config cleartextTrafficPermitted="true">
        <trust-anchors>
            <certificates src="system" />
            <certificates src="user" />
        </trust-anchors>
    </base-config>
</network-security-config>
Now modify the “AndroidManifest.xml” in the root directory of the unpacked app and insert this code after “<application “ along with the other configs:
android:networkSecurityConfig="@xml/network_security_config"Use this command to package it back up (change YOUR_APP):
apktool b YOUR_APP -o YOUR_APP-modified.apkNow you need to sign the app back to install it, so create a key first:
keytool -genkey -v -keystore my-release-key.keystore -alias alias_name -keyalg RSA -keysize 2048 -validity 10000Now you can sign it with that key:
jarsigner -verbose -sigalg SHA1withRSA -digestalg SHA1 -keystore my-release-key.keystore YOUR_APP.apk alias_nameCan also use zipalign if it’s a big app to make it smaller:
zipalign 4 YOUR_APP-modified.apk YOUR_APP-modified-compressed.apkThen you can either use jarsigner or apksigner:
jarsigner -verbose -sigalg SHA1withRSA -digestalg SHA1 -keystore my-release-key.keystore YOUR_APP-modified-compressed.apk alias_nameapksigner sign --key key.pkcs8 --cert cert.pem --out YOUR_APP-modified-signed.apk YOUR_APP-modified-compressed.apkNow that you’ve edited the app to allow Proxy Traffic to run through User CAs, install the app on the Android Emulator, just upload it somewhere and download it in Chrome browser and then install and run it.
Lastly start Proxyman, and your should see traffic coming in on the device, also don’t forget to enable SSL traffic for the App/Domain on the device so you can see the responses also. Enjoy 🤓


0 Comments